Creating your own cake carts is a rewarding but time-consuming thing to do on your own. It is a delightful experience. No matter if you are a beginner or a professional baker you can try to create something new. Also making cake carts in a customised way is the best way to show your creativity.
In our blog guide, we will explore the essential steps and the material used in making your own cake carts. We will highlight the decoration steps involved in making cake carts and assembling the finished product.
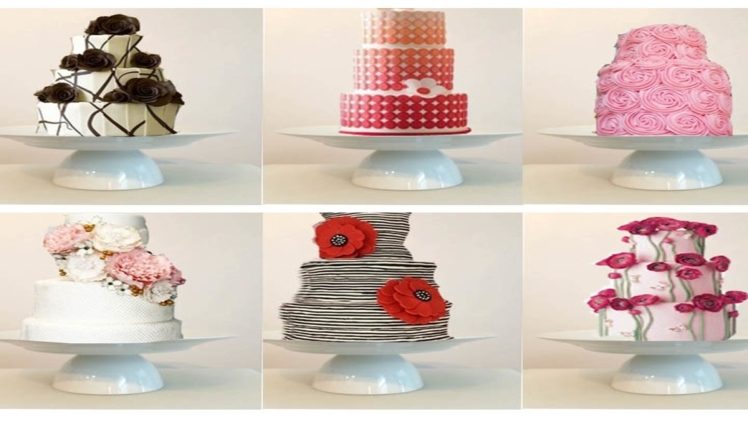
What Are Cake Carts?
Cake carts are known as dessert carts or trolleys, which are designed to display different desserts. They are also suitable for displaying cakes, cupcakes, and other presentable baked goods. These cake carts are usually provided for parties, weddings, birthdays, and other festivals that add a touch of convenience, safety, and elegance. They come in various designs, sizes, and types. However, the most common carts found are available in the form of tiers or shelves for holding and presenting cakes. They provide easy mobility and convenience when presenting desserts to the audience.
Is it Easy to Make Cake Carts at Home?
Creating cake carts at home can be an enjoyable as well as daunting task. The reason is that it requires a lot of expertise and practice to make the right cart that can hold heavy cakes and desserts. But you can make these carts at home without the need to buy from the market. All you need to do is to have some artistic skills along with all the materials that you must have to craft these carts.
With the use of the right tools and materials, you can customize any cart according to your requirements. You can decorate the end product by adding different design materials like ribbons, craft paper, etc. You can even get help from online resources or professional guides as well, which give detailed instructions. On YouTube, you can find our many videos that include detailed instructional videos of making cake carts at home. Also, the key to success is in careful planning, accurate measurements, and making sure that all components are securely safe and durable to use.
What Basic and Optional Materials You Might Need for Making Cake Carts?
Basic Supplies for Making Cake Carts
You need some basic supplies to make cake carts at home. You don’t need some skills to create these carts. All you need to have these supplies which are:
- Wood or metal sheets are the primary material that makes up the structure of the cart.
- Saw and Drill are essential tools for cutting and assembling the cart.
- You must need screws and nails to secure the parts together.
- You must have four sturdy wheels to get smooth mobility
- Carry some sandpaper for smoothing out rough edges
- For designing, you need paint and brushes to decorate the cart
- You may find pre-made shelves or tiers that hold the cakes.
- To hold the tray, you need handles to pull and push the whole cart easily.
Optional Supplies for Making Cake Carts
There are some decoration supplies you must need to make cake carts look more unique. These include:
- Some decorative items like stickers, decals, and ribbons for decoration
- You can add battery-operated lights to add a touch of elegance
- You can design glass panels to add a protected layer to your desserts
Step-by-Step Guide to Make Your Own Cake Carts
Step 1: Design Your Cart
You have to start designing a cart by making its sketch first. You can check the size and the shape first. Also, you can choose traditional rectangular carts as well which can add a touch of uniqueness.
- First, check the size of the cart you need to hold your cakes.
- Secondly, choose the shape of the carts. For a more professional look, you can add a multi-layer design as well.
- Lastly, check the number of shelves or tiers and their heights. Think about accessibility and ease of use.
Step 2: Gather Materials
Once you finalize the size, shape, and layers of the carts, you need to get the materials for crafting cake carts at home. We have mentioned a list of supplies that you need to make and design these carts.
Step 3: Build the Frame
- Once you get all the materials used to make cake carts you need to cut the metal sheet to design rough edges.
- After that, you need to assemble the base of the cart. You can add screws and nails to secure the pieces together.
- After that, you must attach the wheels to the base. You have to make sure they are evenly placed to avoid wobbling.
- At the end, you have to construct different tiers as needed for your presentation of different desserts.
Step 4: Decorate the Cart
By using optional materials like LED lights, ribbons, and sparkling stickers you can decorate the cart and make it look different.
Step 5: Assemble the Cart
- Once you finalize the entire design of your cake cart you need to fix the handle for fast movements of your cake carts.
- If you choose glass or plexiglass panels, you need to carefully install them to protect the cakes.
- Secure cakes with non-slip mats or additional padding to prevent them from shifting during transport.
- Also, to add more cushioning effects, you can add foam or rubber pads on the shelves to stabilize the cakes and prevent sliding.
Conclusion:
Making your own custom cake cart is a time-consuming task. However, you need to have some artistic skills to complete this rewarding and exciting project that combines unique thoughts, creativity skills and practice as well. We follow the list of materials and supplies that you just need to craft these cake carts at home without the need to hire professionals or buy from stores. Follow the above step-by-step guide to make these carts at home. Now, you don’t need to buy cake carts separate from stores to present your favourite desserts. Make it on your own with simple creative skills!