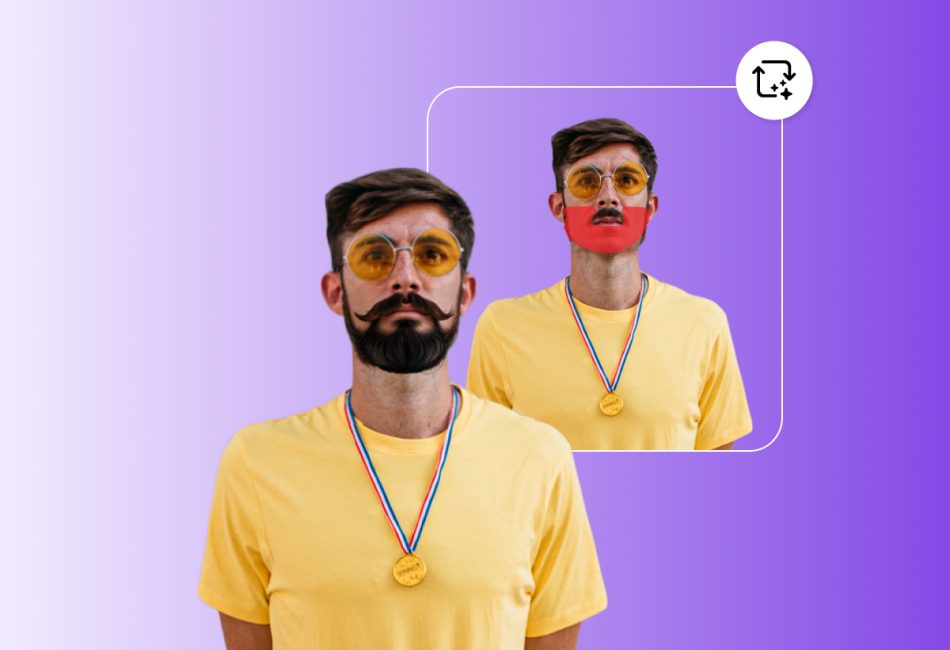
In the age of digital creativity and social media, face-swapping has become a fun and popular way to experiment with photos. Whether you’re looking to create a hilarious meme, surprise a friend, or simply explore your creative side, exchanging faces in a photo is easier than ever.
Thanks to advancements in photo editing technology, you don’t need to be a professional graphic designer to achieve impressive results. In this blog post, we’ll walk you through everything you need to know about face-swapping, from the tools you can use to step-by-step instructions for creating your masterpiece.
Why Exchange Faces?
Multiple face swap isn’t just about creating funny photos (though that’s certainly one of its biggest perks). It’s also used for artistic projects, marketing campaigns, and even in film production. Some common reasons people exchange faces in photos include:
- Entertainment: Create hilarious images of yourself swapped with celebrities or friends.
- Artistic Expression: Experiment with surreal or creative photo compositions.
- Practical Use: Visualize how you’d look with different hairstyles or makeup.
- Storytelling: Enhance storytelling by blending characters in unique ways.
Whatever your reason, face-swapping is a versatile and fun skill to learn!
Face Swap Tools You Can Use
Whether you’re using a smartphone or a computer, there are plenty of tools available to help you exchange faces in photos. Here are some popular options:
Mobile Apps
Face-swapping apps have become incredibly user-friendly and accessible. Some of the most popular apps include:
- FaceApp: Known for its AI-driven features, FaceApp offers fast and realistic face-swapping.
- Reface: A fun app that allows you to swap faces in videos and GIFs as well as photos.
- Snapchat: The face-swap filter on Snapchat is a quick and easy way to swap faces with friends in real time.
Desktop Software
For more precise editing, desktop software provides advanced tools:
- Adobe Photoshop: A professional tool that offers full control over face-swapping, though it requires some learning.
- GIMP: A free alternative to Photoshop with powerful editing capabilities.
- Fotor: A beginner-friendly photo editor with features for face-swapping.
Online Tools
If you don’t want to download anything, online tools can get the job done:
- Vidqu: A face swap online tool that is free to use and provides high-quality output.
- Photopea: A browser-based editor similar to Photoshop.
- DeepSwap: An AI-powered online tool for realistic face-swapping.
How to Exchange Faces in a Photo: Step-by-Step Guide
Ready to get started? Here’s a simple guide to swapping faces in a photo using both mobile apps and desktop software.
Method 1: Using Mobile Apps
If you’re short on time and want instant results, mobile apps are your best bet. Here’s how:
- Download an App:
Choose an app like FaceApp or Reface from your app store and install it.
- Upload Your Photo:
Open the app and upload the photo where you want to swap faces. Some apps may also let you take a new photo directly.
- Select the Face-Swap Tool:
Most apps have a dedicated face-swap option. Select it and choose the faces you want to exchange.
- Adjust the Swap:
Use the app’s editing tools to fine-tune the swap. You can adjust the size, angle, or blending to make it look seamless.
- Save and Share:
Once you’re happy with the result, save the photo to your device and share it with friends!
Method 2: Using Desktop Software
For more advanced or professional-looking results, desktop software like Adobe Photoshop is ideal. Here’s how you can do it:
- Open Your Photo:
Launch Photoshop (or your preferred software) and open the photo where you want to exchange faces.
- Select the Faces:
Use the Lasso Tool or another selection tool to carefully outline the face you want to swap.
- Copy and Paste:
Copy the selected face and paste it onto the other person’s face in the photo.
- Resize and Align:
Use the Transform Tool (Ctrl+T) to resize and rotate the pasted face so it aligns perfectly with the original face.
- Blend the Edges:
Use the Eraser Tool or a soft brush to blend the edges of the swapped face for a natural look. You can also adjust lighting and color tones using filters.
- Save Your Work:
Once satisfied, save your edited photo in your desired format.
Tips for Better Face-Swapping Results
Face-swapping can be tricky at first, but these tips will help you achieve better results:
- Choose High-Quality Photos: The higher the resolution, the easier it is to align and blend faces.
- Match Angles and Lighting: For a realistic swap, use photos where both faces are at similar angles with similar lighting conditions.
- Pay Attention to Skin Tones: Adjust skin tones using color correction tools so the faces match seamlessly.
- Experiment with AI Tools: Many modern apps and online tools use AI to automate much of the process, making it easier for beginners.
Other Considerations
While face-swapping is a fun and creative activity, it’s important to use this technology responsibly. Avoid using someone’s photo without their permission, especially for public or commercial purposes. Misusing face-swapping technology can lead to privacy violations or harm someone’s reputation.
Always swap faces with good intentions—whether it’s for personal entertainment or artistic projects.
Final Thoughts
Exchanging faces in a photo is an exciting way to explore your creativity and have fun with friends. With so many tools available today, anyone can master this skill in no time. Whether you’re using an app for quick swaps or diving into Photoshop for detailed edits, there’s no limit to what you can create.
So what are you waiting for? Grab your favorite photos, pick a tool, and start swapping! Who knows—you might just create the next viral sensation.
