Have you ever thought about how crucial the right door lock is to keeping your home secure? Mortise locks, with their sturdy and reliable design, are a top choice for enhancing security. But installing them correctly is key to leveraging their full potential. Far beyond placing the lock on the door, it is about ensuring the proper fit, alignment, and precision during the installation process.
Whether you are an enthusiast looking to tackle this task yourself or considering calling in a professional, understanding the step-by-step process is essential. In this blog, we will walk you through everything, from measuring and prepping the door to installing the lock and ensuring it functions smoothly. With the right tools and a little patience, you will have a perfectly installed mortise lock that elevates your home’s security and adds a touch of elegance. Ready to get started? Let us take a look at the process and secure your home the right way!
Mortise Lock Installation Made Easy: A Step-by-Step Process
Mortise locks are a popular choice for their strength and affordability, but installing one requires a bit of fine-tuning. Do not worry! Here is an easy installation guide to ensure that your lock fits perfectly and functions smoothly.
Step 1: Gather Your Tools
Before you begin to install the lock, gather all the required tools by your side. Having everything in one place will make the job smoother and more efficient. Some of the tools you will need are:
- Pencil for marking the door
- Measuring tape for accurate measurements
- Hammer for driving in screws and tapping chisel
- Driller to create holes and cut the mortise pocket
- Chisel for cleaning and shaping the mortise pocket
- Screwdriver set for securing screws
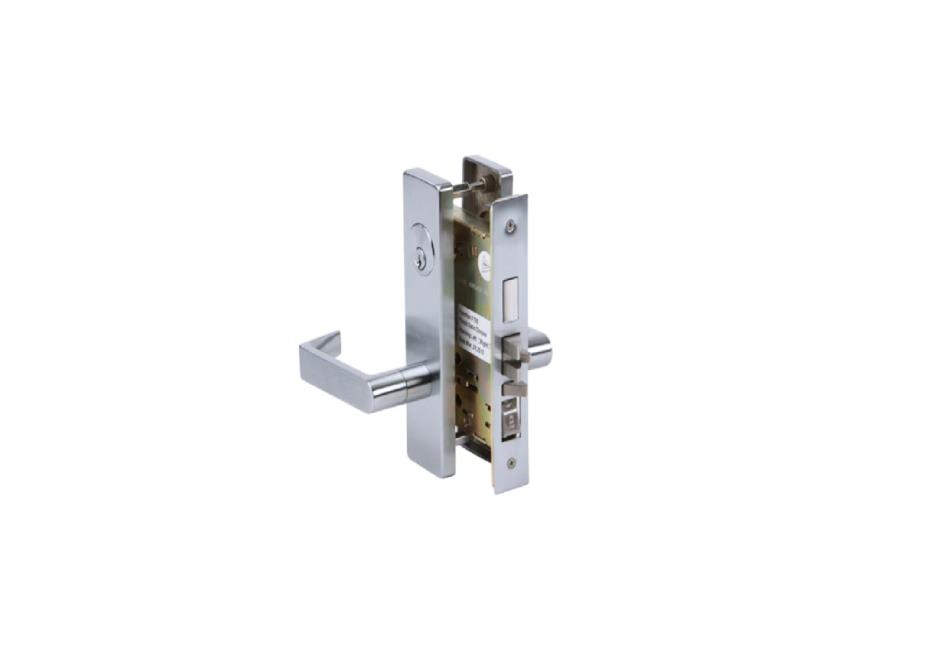
- Mortise lock set, including the lock body, faceplate, and strike plate
If all these tools are around you, then you will not have to run around searching for something in between.
Step 2: Measure the Height of the Lock
The most important thing is to figure out where you want to place your mortise lock on the door. Usually, they are installed at a height of around 36 inches from the ground. It ensures that the lock is accessible yet secure. Use a measuring tape to measure from the bottom of the door and mark the height where the lock will go, keeping the same consistency across both sides. Replacing an old lock? In this case, measure the center of the old lock and align it with the new one.
Step 3: Mark the Door’s Lock Location
After you have decided on the height, take a pencil and mark the location for the lock. It will help you cut the mortise pocket accurately. Carefully align the lock with the door, ensuring the latch and the strike plate align with the door frame. You can also measure the lock set itself and then mark the location on the door edge, confirming that your mortise pocket will be perfect.
Step 4: Cut the Mortise Pocket
Now that you have the measurements and markings cut the mortise pocket. Drill holes at the corners of the marked area to create a pocket. With the driller, remove the wood to get an adequate pocket for the mortise lock to fit. Also, drill at an even depth and width to avoid creating an uneven pocket. The intent is to have a precise pocket to ensure your lock fits tightly and works properly.
Step 5: Clean the Pocket with a Chisel
Once you have drilled the pocket, use a chisel to clear out all the remaining wood and smoothen the edges of the pocket. This is an important step because a rough or uneven pocket will prevent the lock from fitting securely. Take your time to get neat and clean edges, as they can impact the appearance and functionality of your lock.
Step 6: Install the Mortise Lock
It is time to insert the lock into its place. Slide the mortise lock into the pocket while aligning the face plate with the surface of the door. You should be able to feel that the lock is perfectly sitting in the pocket. After the lock is in place, secure the face plate by putting screws into the pre-drilled holes. It will hold the lock firmly in its position, making it stay in place when you use the door. Further, double-check that the face plate is working fine with the surface of the door to maintain the door’s aesthetic.
Step 7: Install the Deadbolt and Mark the Strike Plate Location
At this point, you need to install the latch and strike plate. Close the door and carefully mark the location where the deadbolt or latch will meet the door frame. Use a pencil to mark the centre of the latch on the door frame, ensuring that the deadbolt meets the strike plate without any obstruction. Now, drill the necessary holes in the door frame for the strike plate and secure it using a screwdriver.
Step 8: Test the Lock
With the mortise lock fully installed, it’s time for the most important step: testing the lock. Close the door and check how well the lock functions. Open and close the door several times to ensure the lock operates smoothly. The latch should easily slide into the strike plate, and the deadbolt should lock securely. Make some minor adjustments if the lock does not operate smoothly or if the latch does not align with the strike plate properly.
Summing Up
Installing a mortise lock is a straightforward process, and with the right knowledge, you can effortlessly enhance the security and style of your home. The above-mentioned eight simple steps and a sturdy, reliable lock can efficiently upgrade your doors and deliver peace of mind. So, roll up your sleeves, grab your tools, and take pride in your craftsmanship. A secure, stylish door is just a few steps away!