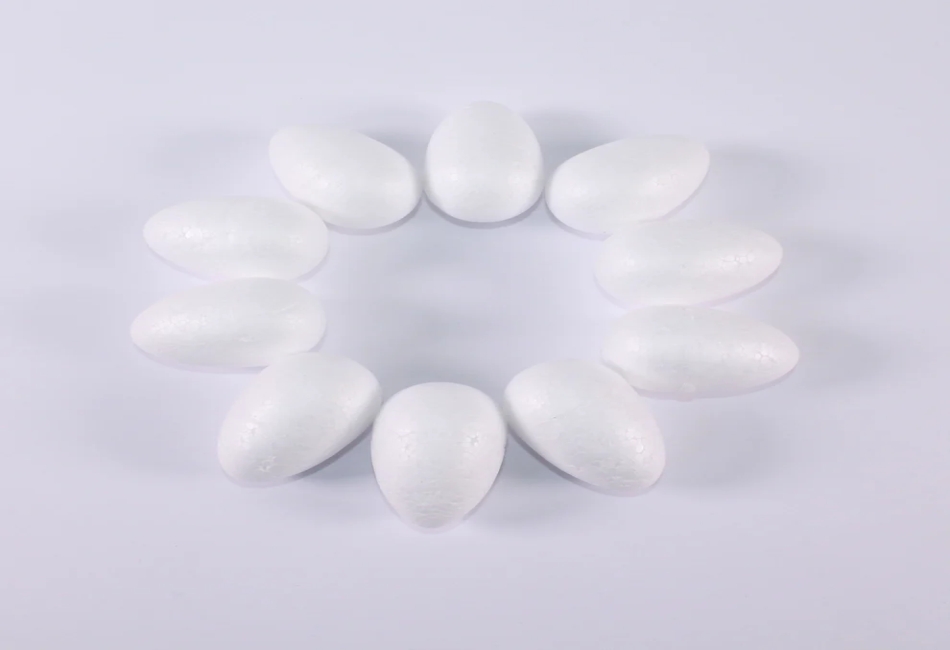
Imagine sitting at a crafting table, all set to paint polystyrene eggs for an upcoming project. You are ready to get started with the colors and some brushes. However, the moment you start painting, things start to go wrong– in your case, getting cracks and paint peeling away, destroying your hard work.
It is a common struggle for many. However, you can overcome and avoid this scenario with some tips and tricks, achieving the desired smooth, beautiful end results.
Whether crafting for Easter or adding an elegant personal touch to some themed decor around the house, knowing how to paint polystyrene eggs without cracking or peeling is easier than you think.
Interested?
Let’s explore some expert tips and techniques together that would help get your every creation from the start to the flawless finish it deserves.
1. Prep the Surface
Make sure to prep your polystyrene eggs before painting them. Grab a piece of fine-grit sandpaper and sand the eggs gently.
This takes care of imperfections like bumps and uneven patches that can hinder the smooth application of paint on the eggs. Also, do not oversand because polystyrene is prone to denting.
After sanding, make sure to clean with a dry cloth, as cleaning with water will expose it to dirt. Dust and dirty surfaces inhibit the paint’s stickiness, resulting in peeling and cracking later.
Cleaning the surface will provide an easier painting process that will make the result look stunning.
2. Seal the Egg
Sealing the egg helps ensure the entire painting process is seamless and more even. While not obligatory, this step is highly recommended, particularly if you want to avoid paint on polystyrene eggs soaking in too fast.
A polystyrene-friendly primer or thinned white craft glue – like PVA glue with a little water – does the job excellently. All you have to do is put a thin layer of glue or primer on the egg’s surface.
This step needs to be completely dry before you start painting. Additionally, this sealant restricts paint from soaking into the foam, which enables one to achieve a paint finish that is smooth and consistent.
Without these sealants, paint can be absorbed unevenly, resulting in a blotchy appearance. Therefore, by adding this extra step, you’ll improve the texture and durability of the paint significantly, which makes the small added time worth it.
3. Mount for Easy Painting
Properly mounting the polystyrene egg before the painting process will simplify it. First, place a toothpick or wooden skewer into the egg’s bottom. This gives you a clean, steady way to hold the egg without risking unwanted fingerprints or oily smudges on its surface.
After mounting, you can place the skewer into a foam block or a cardboard box that holds the egg upright while it dries. This helps ensure that there won’t be any paint running or pooling in one area, guaranteeing an even coat all around.
Furthermore, the egg can easily be rotated for better reach and angle during painting, which ensures convenience. Having such a reliable setup is critical for avoiding mistakes, and this step protects the egg while keeping the paint job precise and the drying process smooth.
4. Apply Thin Coats of Paint
Light layers should be carefully applied when painting a surface to achieve the desired appearance. Use high-quality acrylic paint for polystyrene foam parts, like eggs, as it does not emulsify the foam and is foam-friendly.
Unless a can is specifically marked safe for foam, do not use spray paint, as most contain damaging solvents. However, resist the urge to over-paint in a single stroke as this obliterates the surface finish and causes excessive drips.
The best approach is to apply paint in soft steps and wait for each step to dry before painting another coat, which is highly effective. Each layer applied like this enhances the vibrancy of the eggs and, when done correctly, will help fade any cracks or gaps, allowing for a seamless finish.
5. Let It Cure Fully
When you have put on the last layer of paint, restrain yourself from touching or shifting the eggs. Let the artwork sit for several hours or, if possible, overnight.
Although the surface feels dry, paint actually takes time to harden and cure thoroughly. If you skip this crucial drying period, you risk smudging or denting the finish.
Also, it ensures that the paint sticks well to the polystyrene, which minimizes peeling risks down the line. It’s also the best way to paint the eggs for a smooth, solid, damage-resilient coating.
6. Seal the Paint
Once your paint has dried and cured fully, add a clear acrylic sealer for additional protection and durability. The sealer serves as a protective barrier, prolonging the life of the paint by preventing chipping, scratching, or fading.
This is particularly helpful if your eggs will be frequently handled or placed in areas exposed to light. There are two main types of sealer: matte and gloss, depending on the kind of finish you want.
A glossy sealer will make the eggs look shiny and vibrant, whereas a matte sealer will preserve a natural look. So, remember to select a sealer safe for polystyrene; some can dissolve or melt the foam.
Adding this final layer will enhance the durability of your painted eggs and preserve their appearance for a long time.
Wrapping Up
With these straightforward but helpful tips, you can decorate polystyrene eggs without stressing about cracks or paint peeling off. Proper preparation, sealing, and meticulous paint application will yield vibrant and smooth results every single time.
Do not rush the process; mounting the egg, applying thin coats, and allowing all portions to dry will greatly impact the outcome. Taking care of the finished eggs will help ensure that all your hard work lasts longer.
Let your creativity flow onto the polystyrene eggs while getting the necessary materials. So, happy crafting!
